


Week 1-2: End-to-end test suite for Mautic - Setting the Stage
Hi everyone, I’m back with another update on my Google Summer of Code project. In the last blog, we discussed the project's goals and why it's important for Mautic. We also talked about the decision to use Codeception as the testing framework.
For the past few weeks, I've been busy setting the stage for the exciting work to come by setting up the testing environment and familiarizing myself with Codeception.
Learning Codeception:
I delved into Codeception and it's been a fascinating exploration! Codeception lives up to its reputation - the syntax is super clear, which makes writing tests almost enjoyable (gasp!). The BDD (Behavior-Driven Development) approach with Codeception is also a big plus. It breaks down features into steps anyone can understand, which is great for both developers and everyone else involved!
Setting up the local environment:
1. Setting up the Mautic project:
I followed Mautic's recommended approach and used DDEV to get everything set up on my local machine. It was a piece of cake – fork, clone, ddev start – and voila, Mautic was up and running like a charm! (You can find the detailed steps in the Mautic docs, by the way, if you're curious)
2. Install the Selenium Chrome Add-on
ddev get ddev/ddev-selenium-standalone-chrome
ddev restart
3. Enter the project container
ddev ssh
4. Install Codeception via Composer
composer require codeception/codeception --dev
composer require codeception/module-webdriver --dev
composer require codeception/module-asserts --dev
5. bin/codecept bootstrap
This creates the global configuration file codeception.yml, the tests/ directory, and the default test suites.
6. Edit tests/acceptance.suite.yml to configure the WebDriver.
Writing the First Test:
To start writing your first test in Codeception, you can generate a Cest file named FirstTestCest.php in the acceptance directory using the following command:
bin/codecept generate:cest acceptance FirstTest
Now, let's write the first test scenario: checking if a user can successfully log in to the Mautic application.
<?php
class FirstTestCest
{
public function loginSuccessfully(AcceptanceTester $I)
{
$I->amOnPage('/s/login'); // Navigate to the login page
// Fill in login form with credentials
$I->fillField('#username', 'admin');
$I->fillField('#password', 'Maut1cR0cks!');
$I->click('#login_button');
$I->see('Dashboard'); // Check that the user is on the dashboard page
}
}
Replace #username, #password, and #login-button with their respective XPath expressions, CSS selectors, or text identifiers.
How to find the XPath?
Right-click on the element in the webpage and choose "Inspect." Once the element is highlighted in the Developer Tools, right-click on the element in the Elements panel. Select Copy > Copy XPath.
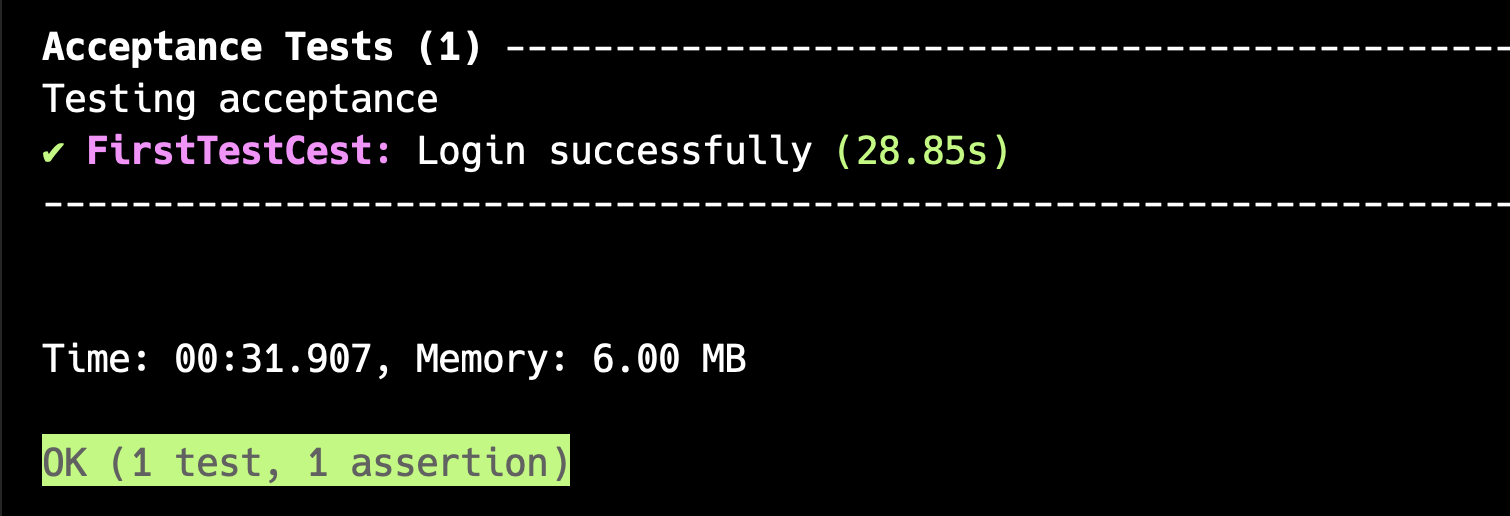
Run the test:
bin/codecept run acceptance FirstTestCept
Challenges:
As a newcomer to Codeception and Mautic testing, there's always a learning curve. But that's part of the exciting journey, right? Configuring Codeception to work seamlessly with Mautic's environment required some research and experimentation. As I delve deeper into writing tests, I'm encountering areas in the Mautic codebase that require further exploration.
Next week’s focus:
I plan to continue exploring Codeception's functionalities and learn best practices for writing effective end-to-end tests. I'll also be diving deeper into the Mautic codebase to identify key areas for test coverage.
Do any of you have suggestions for specific areas in Mautic that should be tested first? Let me know in the comments below!
P.S. If anyone is interested in the project or testing in general, join our Slack channel #automated-testing! We'd love to hear your thoughts and ideas.


0 comments
Log in or create an account to add your comment.